How to take a screenshot on your computer and save it as an image.
Simple, step-by-step tutorial for beginners on how to take a screenshot of your computer screen and save it as an image. 'Take screenshot - Screenshot on Windows
Taking a screenshot of your computer screen is a very simple and useful task for saving something important in the form of an image, and also for sharing this information with other people. In this step-by-step tutorial, we’ll show you how to take a screenshot and save it to an image file on your Windows computer. See how easy it is to save the screenshot:
Taking a print of your computer screen
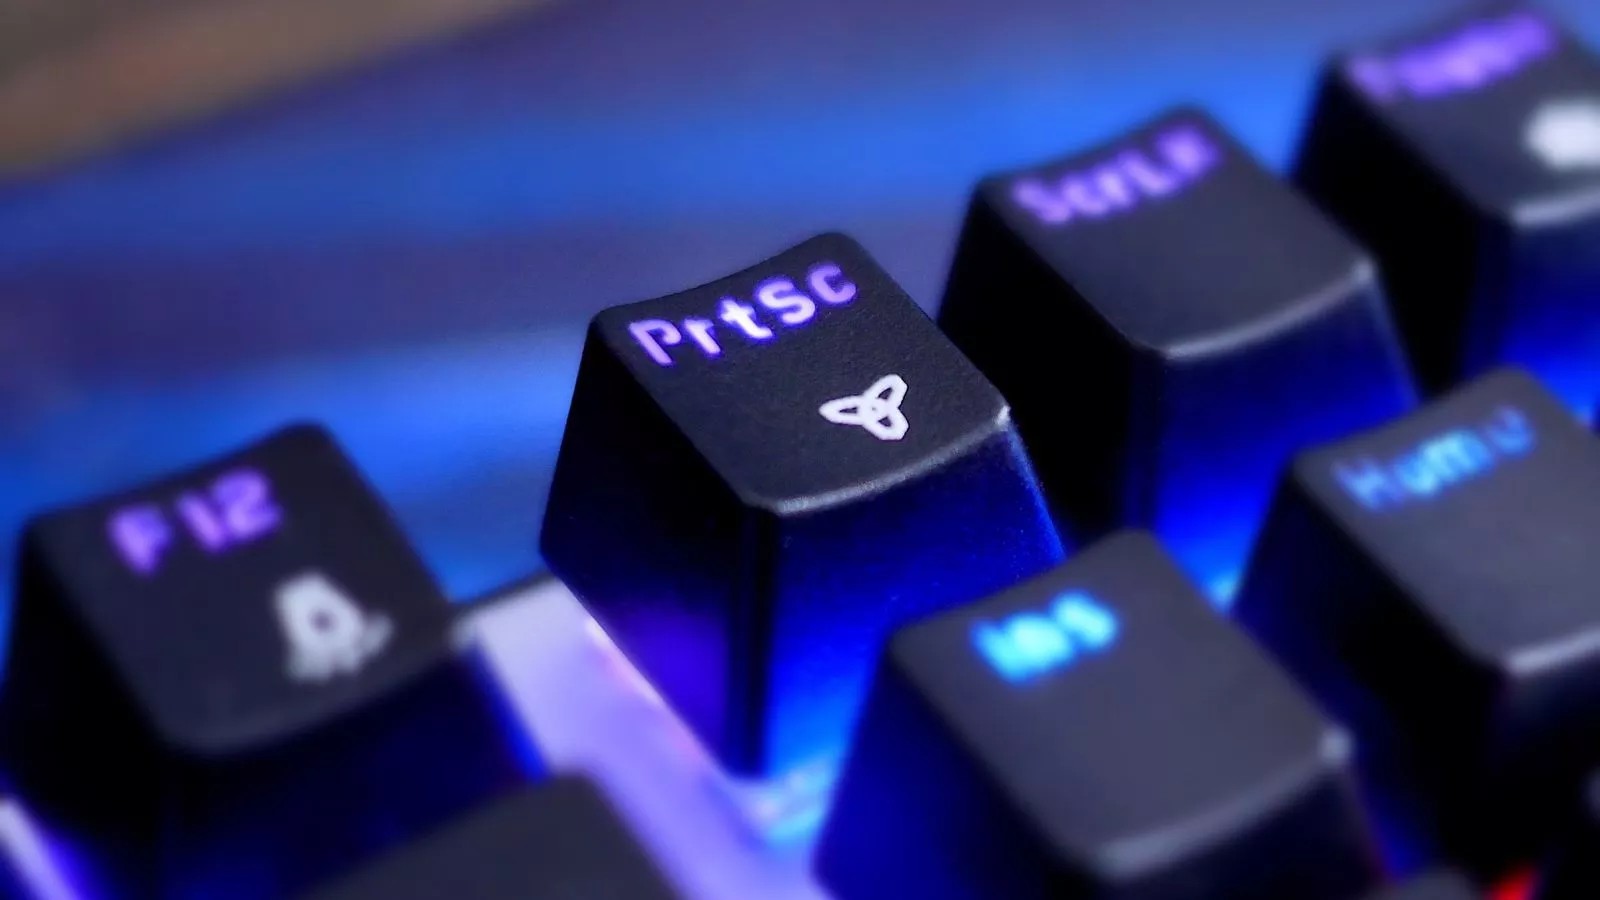
Taking a print of your computer screen, also known as a Screenshot, is very simple. All you need to do is press a single button, the “Print Screen Sys Rq” (or “Prt Sc Sys RQ” on newer models).
When you press this button, Windows instantly captures the entire current image on your computer screen. To preview and save it as an image, follow these steps:
- Press the “Print Screen Sys Rq” key.
- Then open an image editor, such as Paint.
- Right-click in the editor’s drawing area and select “Paste”.
- The captured image will be displayed in the editor.
- Now, in the options menu, click on “Save as” and choose the desired image format, such as “JPEG Image”.
- Choose the folder where you want to save the file and click Save.
Ready! You have just successfully saved a screenshot image to your Windows computer. If you have any questions, let us know in the Seletronic Forum.