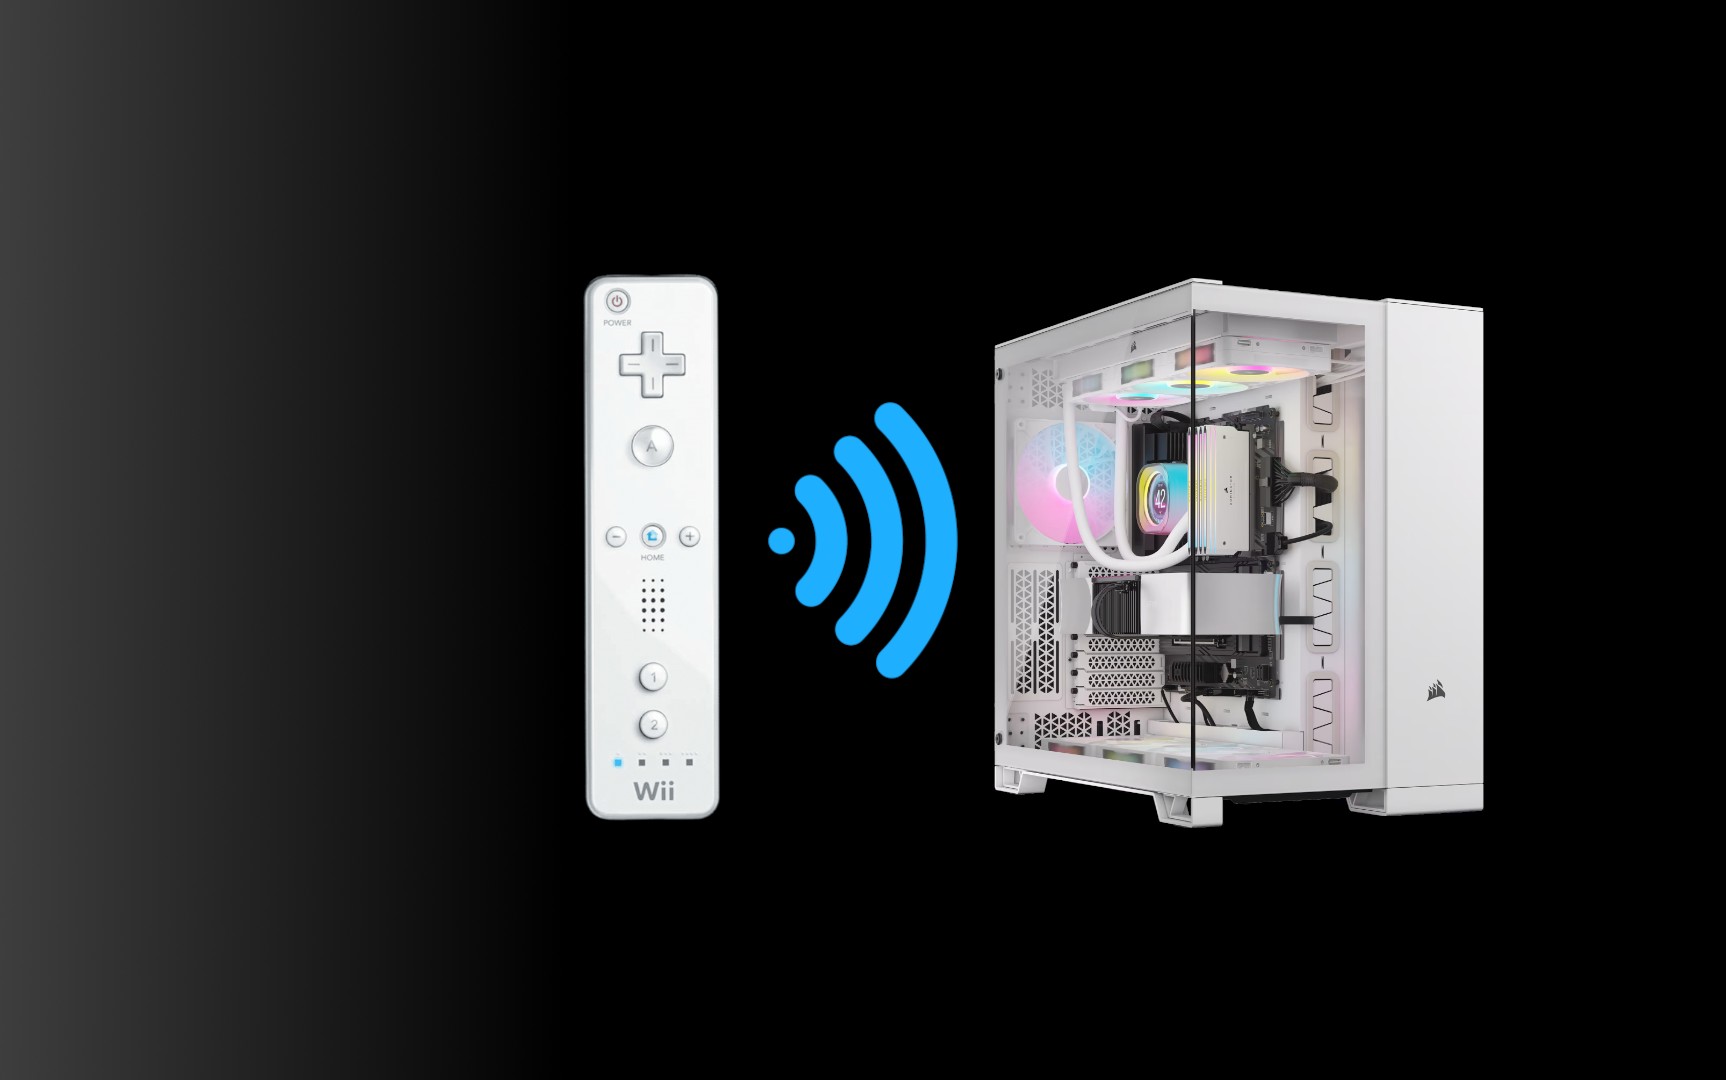
How to use the Nintendo Wii controller on PC (Wiimote)
You don't need to use a password on your PC to use the Wii controller, just follow this tutorial
The Wii Remote, known as the Wiimote, is the iconic controller for the Nintendo Wii. Connecting it to your PC can be a challenge, especially due to a common error that involves asking for a password when trying to use it via Bluetooth. In this tutorial, we show you how to make this connection correctly and make the most of your control in emulators like Dolphin.
Tutorial Requirements
- Wii Remote Control (Wiimote).
- Bluetooth adapter (if your computer doesn’t have one).
- Dolphin emulator (optional, but recommended).
- Windows operating system (compatible with Windows 11 and earlier).
Step by Step to Connect the Wiimote to the PC
1. Prepare Computer Bluetooth
- Make sure your computer has Bluetooth enabled.
- If your PC does not have built-in Bluetooth, purchase a Bluetooth adapter. They are affordable and easy to install (it’s just plug and play).
- Connect the adapter to the computer’s USB port and check if the system automatically recognizes the device.
2. Avoid Connection Error
If you try to connect the Wiimote as a regular Bluetooth device, the system will ask for a non-existent password. This method does not work, so follow the correct step:
- Access Windows settings:
- Windows 11: Settings > Bluetooth and devices > More devices and printer settings.
- Windows 10 or earlier: Click the Bluetooth icon in the system tray and choose “Join a personal network.”
- Choose “Add a device” on this screen.
3. Put the Wiimote in Pairing Mode
- On the controller, press the red synchronization button located inside the battery compartment. Alternatively, press buttons “1” and “2” simultaneously.
- The controller’s lights will begin to blink, indicating that it is ready to connect.
- On your computer, in the Bluetooth devices screen, select the device corresponding to the Wiimote (usually labeled “Nintendo RVL-CNT-01”).
- Click “Next” and wait for the drivers to be installed. You will not need to enter a password.
4. Configure Dolphin Emulator
Dolphin is one of the most popular emulators for Nintendo Wii games. It allows for seamless integration with the Wiimote.
- Open Dolphin.
- Access the “Controls” tab.
- In “Port 1”, select “Real Wiimote” and check the “Continuous Scan” option.
- Put the Wiimote in pairing mode and open the emulator. It should connect automatically.
- If you want to use other devices, such as the Nunchuck or a guitar from the Guitar Hero game, simply connect them to the Wiimote and configure as necessary.
How to Use the Wii Sensor Bar on PC
If you want to use the Sensor Bar to play games on PC, you need to purchase a USB model. These sensors are sold for around R$30.00 on platforms such as Mercado Livre and Amazon. They are easy to install and essential for games that utilize the Wiimote’s pointing functionality.
- USB Sensor Bar at Mercado Livre: [Click here]
- USB Sensor Bar on Amazon: [Click here]
Extra Tips
- Compatibility with other games: The Wiimote can be used in other games with the help of button remapping software. If you are interested, we can create a specific tutorial for this.
- Check the originality of the control: Original controls work better and guarantee a flawless experience.
Useful links:
1. Recommended Bluetooth Adapter:
Original Wii Remote Control:
Dolphin Emulator Download:
Conclusion With this tutorial, you learned how to connect your Wiimote to your computer without complications. Now, you can enjoy your favorite PC games with all the precision and comfort of this classic controller. Don’t forget to share your experiences in the comments!